Get it?
Like - You can't touch this (oh-oh oh oh oh-oh)
Break it down (more oh's)
STOP - manner time.
Ok. Well, I thought it was witty.
:)
Enjoy the photos and review of what we learned at the luncheon last week!
Did y'all love your invitations!?
Rhinestones, glitter, textured cardstock - you know, the works.
As always, a HUGE thank you goes out to Mrs. Amy for being amazingly awesome. She was a fabulous - and gracious - host. What a servant's heart she has!
AND a HUGE thank-you goes out to all of the girls (and parents) for bringing absolutely scrumptious food so that we could dine pot-luck style!
Don't forget the tips you learned about hosting a party. The most important elements to hosting a party in your home is:
(1) Aroma - burn a candle or bake some fresh cookies for an inviting scent.
(2) Music - have music softly playing in the background.
(3) Good food - doesn't have to be fancy, just something for your guests to snack on if needed (unless, of course, it's a dinner party!).
(4) Decorations - continue reading for ideas.
(5) Good company - this luncheon had fabulous company!!
Create simple but wonderfully appealing centerpieces by combining a few of these ideas:
(1) Gather vintage vases or old bottles from antique/thrift stores. Place fresh or dried flowers in them. Do you have clear bottles? Layer a few white beans in the bottom to complete the look.
(2) Tear the front and back covers off cheap, faded and unwanted books. (You may want to look up the value of these books online before ripping them up though!!) Stack a smaller book on top of a slightly larger book and tie some jute or twine around them.
(3) Pair arrangements in three's. For example, in the main photo below, we paired a vintage tea pot with a vintage vase and a modern owl (from Hobby Lobby). Arrange items so that they are at different heights.
Did you notice that we put the bread rolls in Santa's sleigh?... That was a collaboration effort between a couple of my students. ;)
Old Reader's Digest books are inexpensive and can be found at most antique/thrift stores. These are great for stacking and adding height to any arrangement.
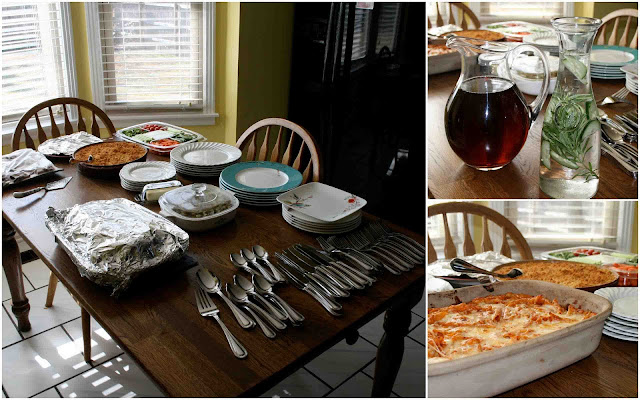
We put all of the plates and silverware in the kitchen and left the chargers empty so that the girls could set their own place settings.
The place settings should be arranged as follows:
Dinner plate on bottom, salad plate on top.
Forks on your left.
Remember: F-O-R-K has four letters and L-E-F-T has four letters.
Spoons and knives on your right.
Remember: S-P-O-O-N and K-N-I-F-E have five letters and R-I-G-H-T has five letters.
Size of the silverware goes from smallest on the outside to the largest on the inside.
Follow the sizes with each course (i.e. furthest fork from you is for your salad, largest fork beside your plate is your dinner fork).
Tea glasses always go to the top right of the plate.
Napkin goes in the lap.
Table Etiquette Tips:
*Sit up straight.
*Cross your legs at the ankles.
*Keep your elbows off the table.
*Always wait to begin your meal until everyone sits down at the table - whether at a fine dining restaurant or Chick-fil-A.
*Be on time!!
*Set the table at your home for your family. Taking the time to set a pretty table will make mealtimes more pleasant and special. It is also telling the person that is preparing the meal how much you appreciate what they are doing!
*Write a thank-you letter to your host or hostess if asked to dine at someone else's home.
After we went over a list of table etiquette pointers, we passed a box of cards around the table called Table Topics. My favorite question was, "At what age is someone old and how does a person stay young?"
There were a variety of answers from 17-years-old is "old" to 40-years-old to 80-years-old. My favorite answer is,
"You're only old when you begin thinking that you're old."
That's wisdom -- from a teenager.
I love it.
We finished up the afternoon with a present-wrapping and bow-making lesson where the girls dominated. I'm pretty sure they'll be giving out packages this year with stellar packaging!


